Stuck creating your travel itinerary on visadocs.ai? Follow this guide!

Follow this simple tutorial to understand each step of the process for generating a travel itinerary on visadocs.ai.
Step 1: Enter your basic travel information
In this first step you will be asked to inform your:
- 📍Destination country
- 📅 Travel dates
- 👤 Full Name
Once you’re ready, click the New Itinerary button to move on to the next step.
Step 2: Confirm your information
You’re given one last chance to review and edit your basic travel details before continuing with the form.
⚠️ After clicking Confirm, you won’t be able to modify this information later.
Step 3: Select your mode of transportation
Indicate how you’ll arrive in and leave your destination country. This helps your itinerary align with supporting documents like flight or train tickets.
If you already booked your transportation, you can even include your vessel number (flight number, train number or bus number) and it will be added to your itinerary for additional context.
Adding a vessel number is optional.
Step 4: Select your arrival and departure cities
The authorities (Visa officers) checking on your visa demand will need to understand the details of your trip and this includes your destination country’s ports of entry and exit.
Arriving or leaving from a small town? No problem — visadocs.ai is powered by Google Places API and can find most locations worldwide.
Step 5: Add the full details of your trip
This step customizes your itinerary and makes it truly reflect your travel plans. The more details you share, the more accurate your final document will be.
You can enter:
- 🏬 Cities you plan to visit
- 🏖 Attractions you’d like to explore
- 🏨 Hotels/Accomodation you’ve already booked
For attractions and accommodations, we recommend also including the city they’re located in to avoid any possible confusion when generating the itinerary.
Step 6: Choose the itinerary type that fits your needs
You’ll be offered three plan options:
- Basic itinerary: Let the AI do the planning — a fast, affordable visa-ready itinerary with top picks for your destination.
- Custom itinerary: Guide the AI with your own cities, attractions, and hotels — get a fully personalized, multi-language PDF.
- Premium itinerary: Everything in the custom plan plus a hand-polished itinerary by a travel document expert — crafted with care.
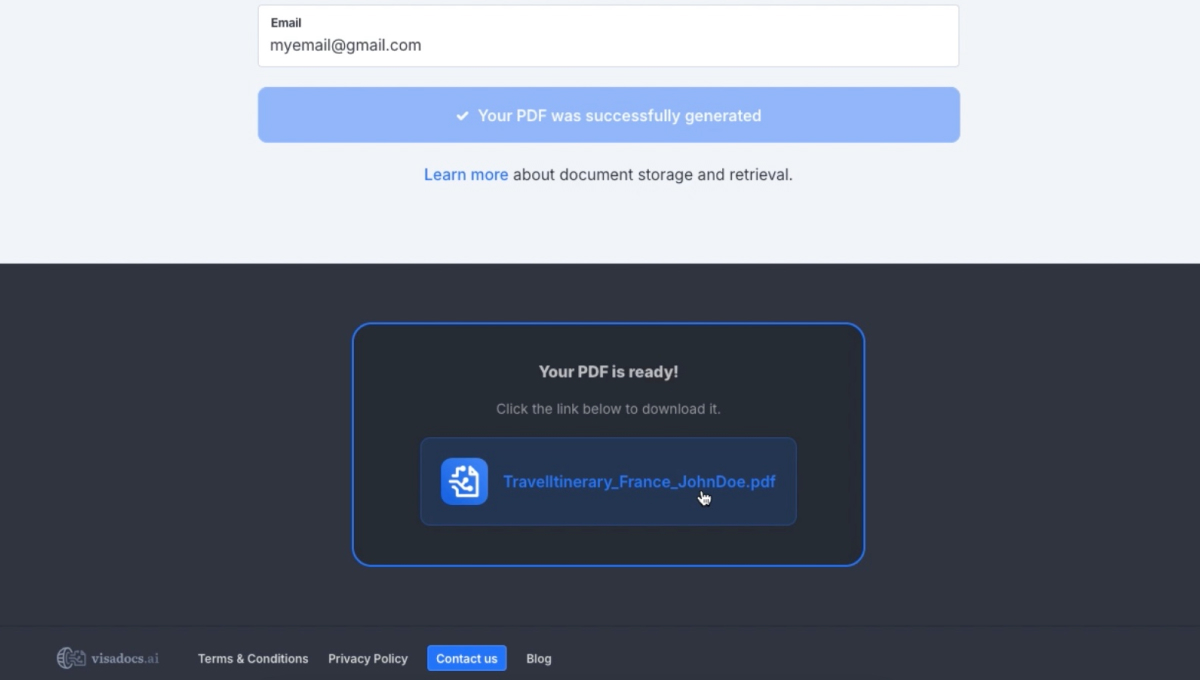
Step 7: Generate and download your travel itinerary
In this final step, once your payment is confirmed, click Generate PDF Itinerary to begin the generation process.
Please wait for the process to complete before navigating away or refreshing the page. Generation can take up to 1 minute.
Once your PDF is ready, a download link will appear. Click to get your itinerary.
If you entered your email address, the PDF will also be sent to you, and you’ll be able to retrieve it later at
👉 visadocs.ai/documents#retrieve
🎉 That’s it — your travel itinerary is ready!
Congratulations on completing your first itinerary with visadocs.ai. If you have questions or want to refine your plan, stay tuned for more blog posts and tips!